

How To Start A Podcast!

Have you been thinking about starting a podcast but not sure where to start? What equipment to buy? What systems to use for recording and editing? What the heck all of these things mean? I was in the same place as you are not too long ago.
I thought starting a podcast would be the hardest next step that I could take, but
SPOILER ALERT: it’s NOT as hard as you think it is…and you can achieve an amazing quality with products that don’t cost an arm and a leg.
Here’s what I use:

Microphones & Headphones
If you’re doing a solo podcast you can get this same kit for just one person with this RODE PodMic Bundle. I bought this single microphone bundle for about $150 and the two microphone bundle for $270 so that I could record co-hosted episodes and have another for guests.
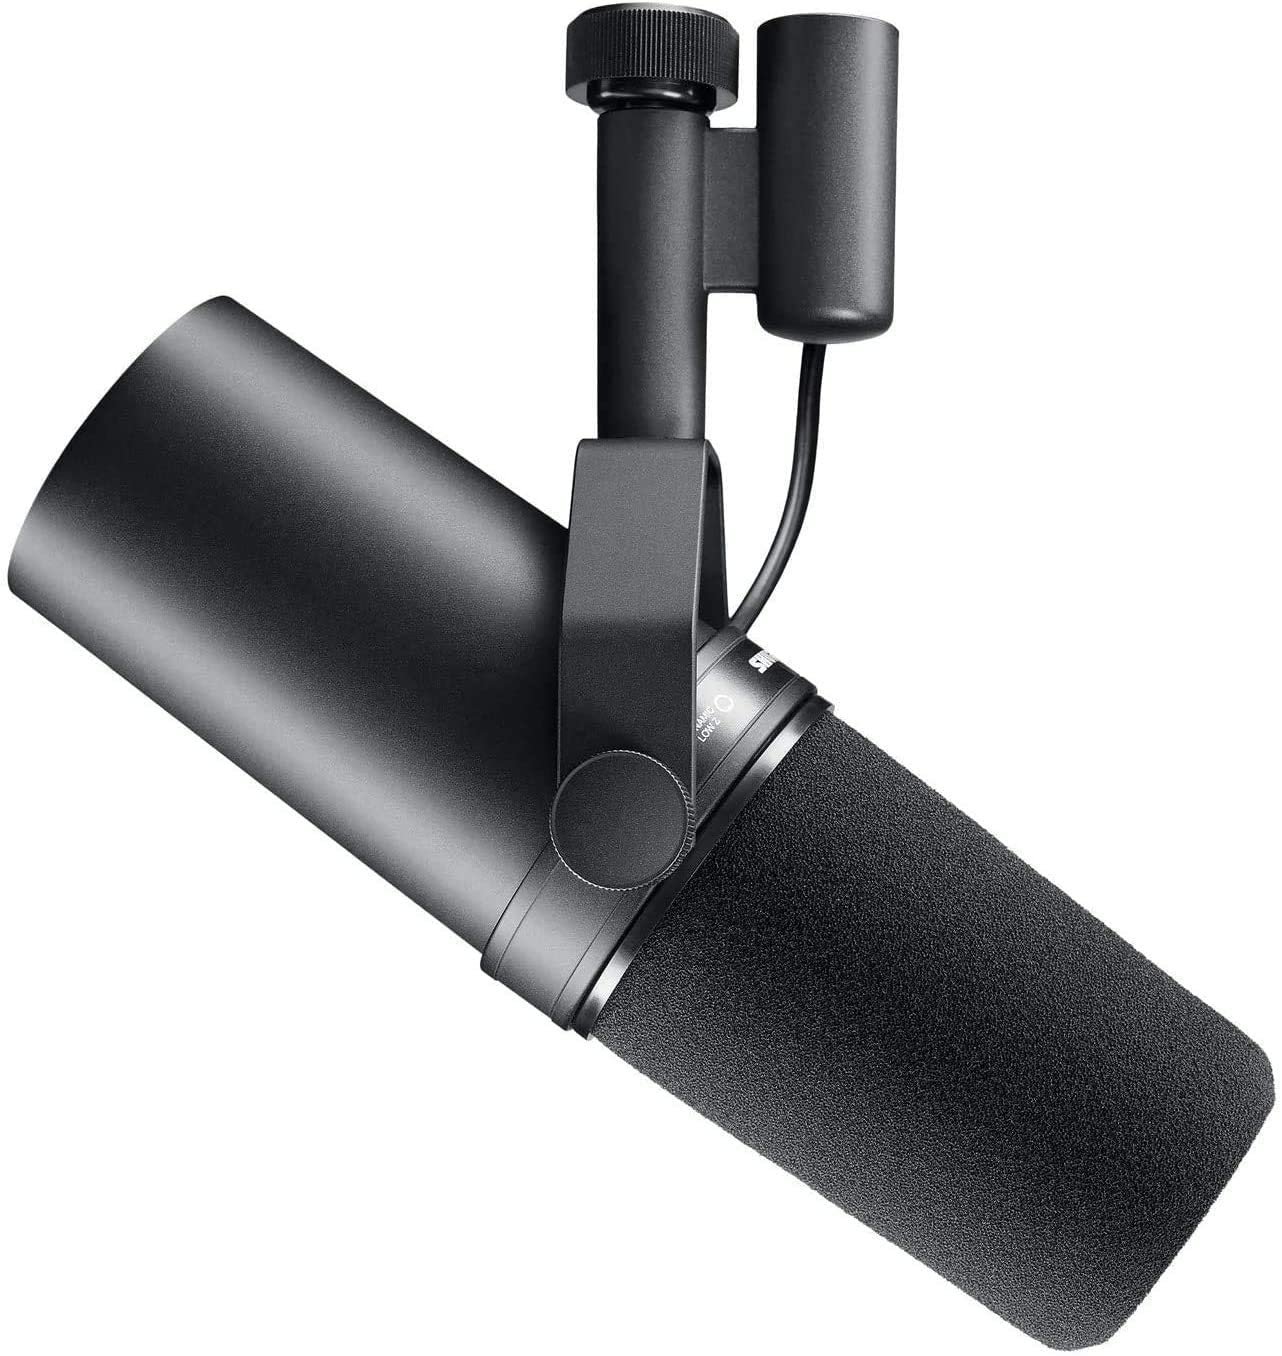
I know the Shure SM7B Dynamic Microphone is the gold standard to everyone and — don’t get me wrong — it has earned its place as a top performer, however, you can achieve amazing sound quality and performance with microphones that don’t cost $400. If you really want to stick with the Shure brand, then by all means go for it. The Shure SM7B will not let you down.
The Shure MV7 is a bit cheaper than the SM7B and also has the option to record using a USB or XLR cable, allowing you to record directly into your computer or a recorder. The Shure SM48 is a very cheap option if you’re really trying to get started on a budget but don’t want it to sound like you were on a budget. I have three Shure SM48 microphones for travel purposes. There are some instances where I can record an episode with guests from my home back in Florida or friends that live in different states when I’m traveling so the SM48 definitely comes in handy. No one wants to pack up their entire room of equipment for travel episodes so having a lightweight backup that won’t hurt your sound quality is a great plan.


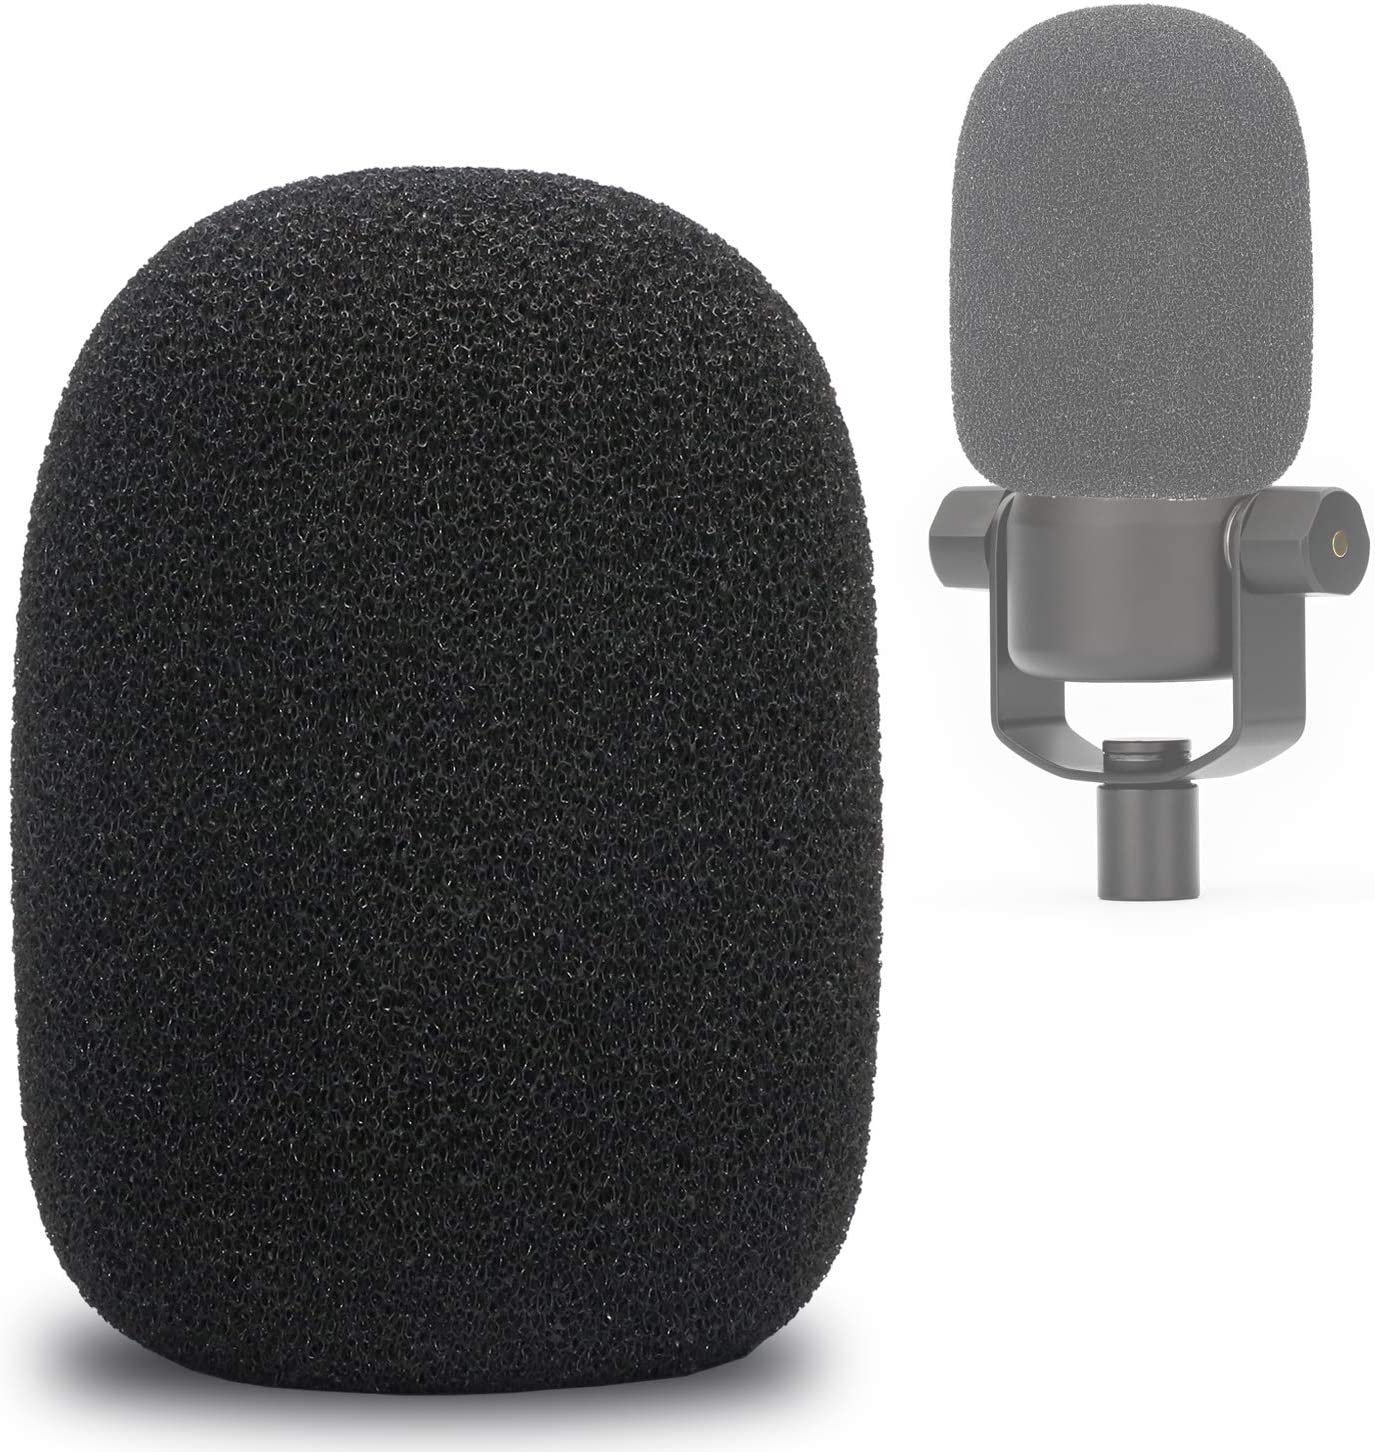
Pop Filters are your friends! These Pop Filters were really cheap and do a great job cutting back on the popping and hissing sounds from the letters B, P and S.
Make sure they fit your specific microphone if you go for a different one than the RODE PodMic, but for the most part these fit almost all dynamic mics designed for podcasting. I highly recommend including these to your setup. I did need to get smaller pop filters for my Shure SM48 mics since they did have a smaller design. Again, the pop filters were very cheap and really enhanced the sound of my microphones.

Recorder
I use the Zoom Podtrak P4 for all of my episodes. I was a little nervous at first since it’s not the most expensive or most commonly used recorder by the top tier podcasters, but I’m sooo glad I chose to use this! It’s extremely cost friendly (just under $200) and can be used in so many different ways.
I am able to record with my co-host and up to two guests by plugging in 4 XLR mics. It records my episodes in a way that makes editing so much easier per person. I get a file of everyone speaking together and then I also get files for each person speaking separately, which allows me to upload either the whole file into Garageband for editing or the separate files and play with the output levels I’m getting back or remove any unwanted sounds that only effected one microphone (i.e., me accidentally hitting my mic when someone else speaks, someone coughing into their mic, etc).

I like recording my interviews in-person with my microphones hooked up via XLR Cable and saving everything onto my SD Card.
You will want to have this no matter how you record just to always ensure your episode is recorded and nothing glitches or costs you any content.
The 32GB is plenty of space, especially since you can only record 10 files onto your console anyways. There’s no sense in getting a bigger size when you won’t record enough in one sitting to fill 64GB-256GB anyways. The only reason I would suggest an SD Card this big would be if you’re doing a video podcast setup.
Another great feature this recorder offers is allowing you to record episodes with virtual guests three different ways to record by connecting your smartphone, computer or iPad to record remote calls.
TRRS Cable: plug in the TRRS cable to the jack on the side and your phone (NOTE: you will need an adapter for the TRRS cable to connect to an iPhone, Samsung Galaxy or Android). The caller gets a mixed/minus back, preventing guests from having echoes or feedback.
Zoom’s BTA-2 Bluetooth Adapter: plug this into the same TRRS jack on the side and you can wirelessly connect your phone and record interviews using Facetime or Zoom.
USB-C: there are two USB-C ports on the side of the recorder — one for power and another that allows you to connect to your computer and then you can use any remote meeting software to record onto the Podtrak’s Track 4. The caller will again receive a mix/minus back.
Charging this device is also very easy and it’s ready to go the instant you plug it into the wall, your computer or a power bank with a USB-C cable.
Editing
I love Garageband for my editing process! I have all Apple products so it does make the process seamless and Garageband is included on all iMacs and Macbooks. I can’t speak to other editing systems because I haven’t ventured outside of the Garageband world. I will say it’s extremely easy to use and I became very comfortable using it by watching a few short How-To Videos on Youtube. I suggest
This Garageband Podcast Editing Tutorial from Buzzsprout really helped me start editing my own podcast!
Hosting
I use Spotify for Podcasters (previously known as Anchor) for my hosting services — which you will need to do. Think of your podcast the same way as a website you create. You can make everything you want for a website on Squarespace or Wordpress but without purchasing a domain to host your site, it’s not really active yet. This is the same hosting your podcast.
I chose Spotify for Podcasters because it was free (which not that many are) and it’s easy to upload my finalized episode, get an RSS feed and then plug that feed into Spotify, Apple Podcasts, Amazon Music, Overcast, you name it. Spotify used to automatically submit what you upload to these platforms, but has since done away with this step. Now, you will have to submit them manually, but as long as you connect your account for each platform in your Apps Distribution area, you can quickly submit them right from your Dashboard.
Spotify does offer an editing tool but I find it much harder to use than Garageband and it doesn’t produce the same quality I want my episodes to have.
There’s also a built-in ad platform within Spotify, making it easy to monetize. If you reach & maintain an audience size of 1,000 listeners and post new episodes every 60 days then you can qualify for monetization.
So there’s everything I use for my podcast and what I have chosen to use for editing and hosting so far. I’m very new to the podcast world so there may be better options out there that fit your preferences, but these have all been serving me really well, especially as a beginner. I hope this has helped!
Thanks & We Wish You the Best!
Let’s Do BetterTogether!